

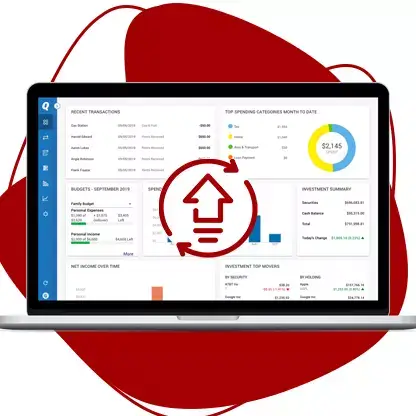
An Error Code Quicken OL-301-A occurs when you incorrectly enter your username or password. It may also arise when there is an issue connecting to the financial institution while using Direct Connect. The situation may ultimately require the financial institution to implement a solution. Quicken error OL-301 refers to invalid or null data transfer from bank of financial institution whenever you try to fetch the latest transaction detail from the server. Due to multiple causes like authentication, connectivity or server down issue can lead invalid data transfer on client system from the bank server, in such case system generates an error code name OL-301. The first thing users should know about the reason behind occurrence of this error and then try to cope-up.
When you are trying to connect Online banking services to your financial service provider with using the Direct connect tool, then the time come up to receive an Error Message OL-301. Although Quicken offers some required solutions of Quicken Error Ol-301 and Ol-301A but you have to check out banking websites to get the remedy of OL-301 because each & every financial provider has the different way of account validation and transaction download process.

Following are the main reasons due to which such an error code appears while accessing Quicken account for managing the financial statement. Have a glimpse on the noted lines:
Here are possible ways by which you can eradicate this particular Quicken Error. All you need to do is to go through the given procedures carefully one-by-one and then you will automatically find that the error has been removed from the root. Take a glance on the provided instructions and follow the same:
This process is for those person who have currently upgraded their Quicken account from older version to 2018. For that, you need to perform some profile & branding setting changes or refresh. To do this its mandatory to clear all Temporary Internet Files. Follow the process below for doing the same:
For all the Windows operating device, the process of deleting the temporary files are different. Here, we have mentioned all those possible steps. Therefore, don't worry either you are operating Windows 7/8/10. You can have the solution of this problem, just go through them:
Doing so, all the temporary files will be deleted completely from your Windows 10 operating device and then you can hassle-freely access Quicken account without confronting any error issue.
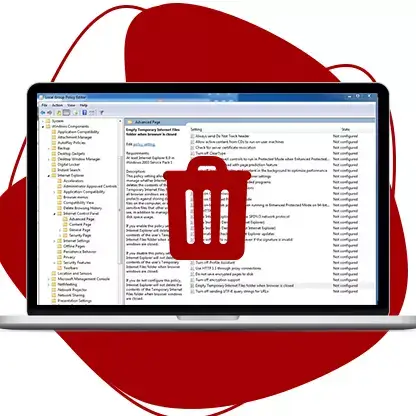
In case anyone is unable to view or locate control panel, then he/she has to follow the provided steps to delete temporary files:
Go through the given instructions for doing this:
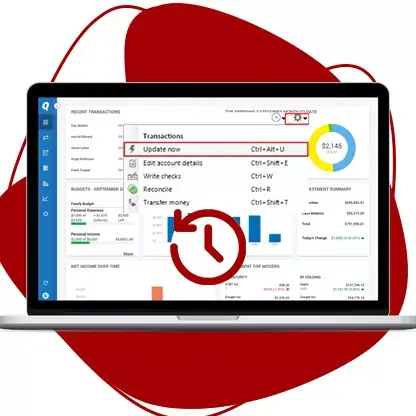
Once you have deleted the temporary files, you will now be updating the account transactions. And for that, you need to follow the below procedure step by step:
Once you successfully update the account transaction, you need to login the account again and then tries to operate the Quicken. You will surely find your Quicken Error OL-301-A disappears. Now, happily use your account with facing no error codes!
Conclusion:– By following above steps if Error OL-301 still persists, then don't be disheartened! There is one more required ways by which you can end-up the issue. What you need to do is to call on our given helpline number by sitting at your home and discuss your problem to the deft connoisseurs without any hesitation. After listening your problem, they will proffer you the easiest possible remedy so that you can annihilate by your own.
Disclaimer:– We have a team of accounting experts and Intuit certified QB professionals for taking care of certain products. The users are free to buy the products and avail any of the customer services directly from Intuit. We do not claim to be the official representative of any of the logos, brand names and trademarks of Intuit QuickBooks and all these associate to their authorized representative. We have ensured that the complete care about the distinctiveness of the information given on this website, we do not accept any liability for it.
| Quicken Supporthttps://www.quicken.com/support |
|---|
| Phone Number(650) 250-1900 |
| Quicken Youtubehttps://www.youtube.com/user/Quicken |
| Install and Updatehttps://www.quicken.com/support/windows/install-and-update#windows |
| Quicken Primium Supporthttps://www.quicken.com/personal-finance/premium-support-2017 |
| Business Address 3760 Haven Avenue, Menlo Park, CA 94025 |